SpringMVC
SpringMVC
SpringMVC是Spring的一个后续产品,是Spring的一个子项目,是View层一整套完备解决方案。
特点
Spring家族原生产品,与IOC容器无缝对接。- 基于原生
Servlet,通过了功能强大的前端控制器DispatcherServlet来进行请求的统一管理。 - 内部组件化程度高、可插拔式组件即插即用,想要什么功能配置相应组件即可。
快速开始
tomcat10有一些问题,最好用tomcat@9比较稳定。
Maven工程创建
<?xml version="1.0" encoding="UTF-8"?>
<project xmlns="http://maven.apache.org/POM/4.0.0"
         xmlns:xsi="http://www.w3.org/2001/XMLSchema-instance"
         xsi:schemaLocation="http://maven.apache.org/POM/4.0.0 http://maven.apache.org/xsd/maven-4.0.0.xsd">
    <modelVersion>4.0.0</modelVersion>

    <groupId>com.atguigu.springmvc</groupId>
    <artifactId>springmvc_mvc_helloworld</artifactId>
    <version>1.0-SNAPSHOT</version>
    <packaging>war</packaging>

    <properties>
        <maven.compiler.source>11</maven.compiler.source>
        <maven.compiler.target>11</maven.compiler.target>
    </properties>

    <dependencies>

        <!-- 依赖 SpringMVC 则就直接依赖了 Spring 的IOC-->
        <dependency>
            <groupId>org.springframework</groupId>
            <artifactId>spring-webmvc</artifactId>
            <version>5.3.1</version>
        </dependency>

        <!-- Servlet API -->
        <dependency>
            <groupId>javax.servlet</groupId>
            <artifactId>javax.servlet-api</artifactId>
            <version>3.1.0</version>
            <scope>provided</scope>
        </dependency>

        <!-- Spring5 和 Thymeleaf 整合包 -->
        <dependency>
            <groupId>org.thymeleaf</groupId>
            <artifactId>thymeleaf-spring5</artifactId>
            <version>3.0.12.RELEASE</version>
        </dependency>

        <!-- logback 日志: thymeleaf 整合包里面包含了 slf4j 的门面, 因此需要此实现 -->
        <dependency>
            <groupId>ch.qos.logback</groupId>
            <artifactId>logback-classic</artifactId>
            <version>1.2.3</version>
        </dependency>

				<!-- jackson依赖: 解析java对象为json -->
				<dependency>
				    <groupId>com.fasterxml.jackson.core</groupId>
				    <artifactId>jackson-databind</artifactId>
				    <version>2.12.1</version>
				</dependency>

    </dependencies>

</project>
web.xml配置文件
<?xml version="1.0" encoding="UTF-8"?>
<web-app xmlns="http://xmlns.jcp.org/xml/ns/javaee"
         xmlns:xsi="http://www.w3.org/2001/XMLSchema-instance"
         xsi:schemaLocation="http://xmlns.jcp.org/xml/ns/javaee http://xmlns.jcp.org/xml/ns/javaee/web-app_4_0.xsd"
         version="4.0">

    <!-- 配置SpringMVC的前端控制器 DispatcherServlet -->
    <servlet>
        <servlet-name>dispatcherServlet</servlet-name>  <!-- 名称可以随便写 -->
        <servlet-class>org.springframework.web.servlet.DispatcherServlet</servlet-class>

				<!--设置SpringMVC配置文件位置和名称-->
				<init-param>
					<param-name>ContextConfigLocation</param-name>
					<param-value>classpath:springmvc-config.xml</param-value>
				</init-param>

				<!--将DispatcherServlet的初始化时间提前到服务器启动时-->
		    <load-on-startup>1</load-on-startup>
    </servlet>
    <servlet-mapping>
        <servlet-name>dispatcherServlet</servlet-name>
        <!--
            /  : 能匹配所有的请求,但是不能包括 .jsp 结尾的请求 会 交给 JSPServlet 进行处理.  (推荐使用)、且需 springmvc 开启静态资源处理, 才能访问静态资源
            /* : 能匹配到所有的请求(包括)
            *.do : 后缀匹配 ,
              优点:1. 静态资源不会经过 springmvc, 不用额外开启静态资源配置 ;
                   2. 可以实现伪静态的效果, 比如 *.html
                       作用1: 给黑客入侵增加难度.
                       作用2: 有利于SEO的优化(排名更靠前)
              缺点:不符合 RESTful 风格
              推荐方式:
         -->
        <url-pattern>/</url-pattern>
    </servlet-mapping>
</web-app>
SpringMVC配置文件
<?xml version="1.0" encoding="UTF-8" ?>
<beans xmlns="http://www.springframework.org/schema/beans"
       xmlns:xsi="http://www.w3.org/2001/XMLSchema-instance"
       xmlns:util="http://www.springframework.org/schema/util"
       xmlns:context="http://www.springframework.org/schema/context"
       xsi:schemaLocation="http://www.springframework.org/schema/beans
       http://www.springframework.org/schema/beans/spring-beans-4.0.xsd
       http://www.springframework.org/schema/util
       https://www.springframework.org/schema/util/spring-util.xsd
       http://www.springframework.org/schema/context
       http://www.springframework.org/schema/context/spring-context.xsd">

    <!-- 包扫描 : 这里只管 controller,放置到MVC的容器里面-->
    <context:component-scan base-package="com.atguigu.springmvc.controller"></context:component-scan>

    <!-- 配置 Thymeleaf 视图解析器
         配置完毕后可以使用MVC的方式完成视图渲染和跳转了
    -->
    <bean id="viewResolver" class="org.thymeleaf.spring5.view.ThymeleafViewResolver">
        <property name="order" value="1"/>
        <property name="characterEncoding" value="UTF-8"/>
        <property name="templateEngine">
            <bean class="org.thymeleaf.spring5.SpringTemplateEngine">
                <property name="templateResolver">
                    <bean class="org.thymeleaf.spring5.templateresolver.SpringResourceTemplateResolver">

                        <!-- 视图前缀 -->
                        <property name="prefix" value="/WEB-INF/templates/"/>

                        <!-- 视图后缀 -->
                        <property name="suffix" value=".html"/>

                        <property name="templateMode" value="HTML5"/>
                        <property name="characterEncoding" value="UTF-8"/>
                    </bean>
                </property>
            </bean>
        </property>
    </bean>

    <!-- 开启注解驱动
     @ControllerAdvice
     @ResponseBody
     @RequestBody
    -->
    <mvc:annotation-driven />

</beans>
编写页面
<!DOCTYPE html>
<html lang="en" xmlns:th="http://www.thymeleaf.org">
<head>
    <meta charset="UTF-8">
    <title>Title</title>
</head>
<body>
<h1>Hello, Spring</h1>
</body>
</html>
Controller
package com.atguigu.springmvc.controller;

import org.springframework.stereotype.Controller;
import org.springframework.web.bind.annotation.RequestMapping;

@Controller
public class HelloController {

    @RequestMapping("/")  // / 即 ..../ContextRoot/
    public String portal() {
        // 将逻辑视图返回
        return "index";
    }
}
测试
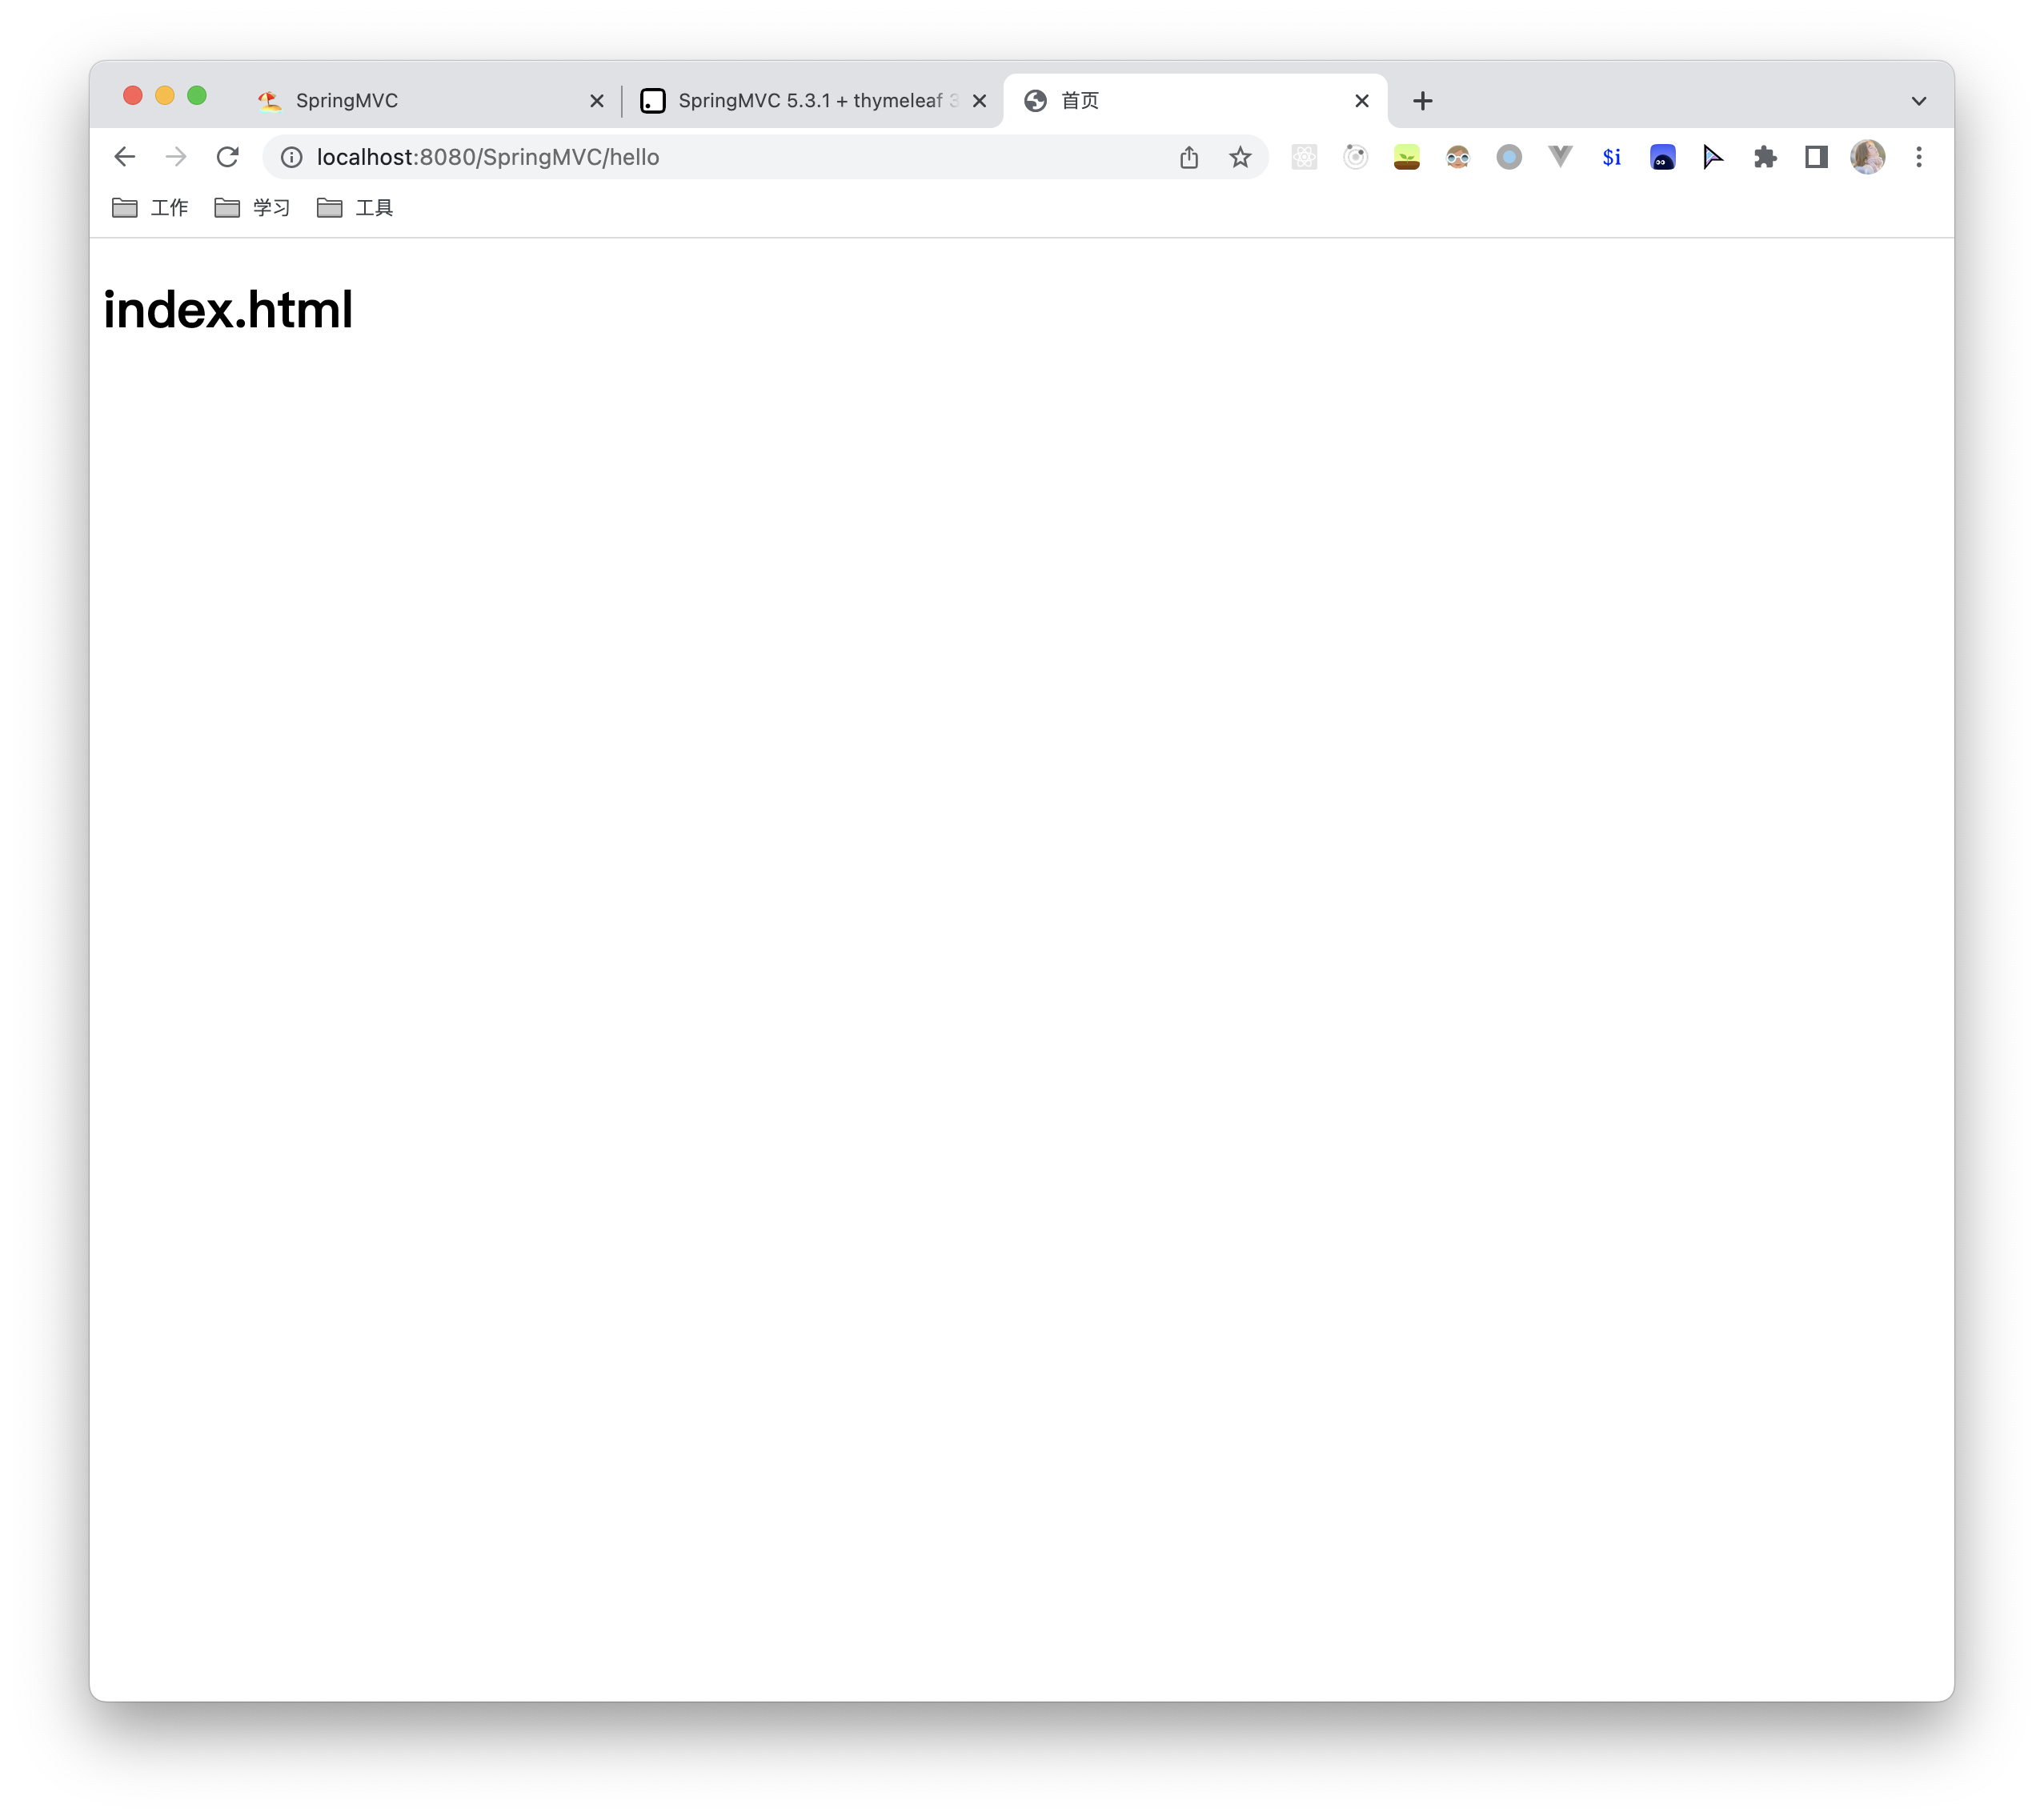
启动配置tomcat
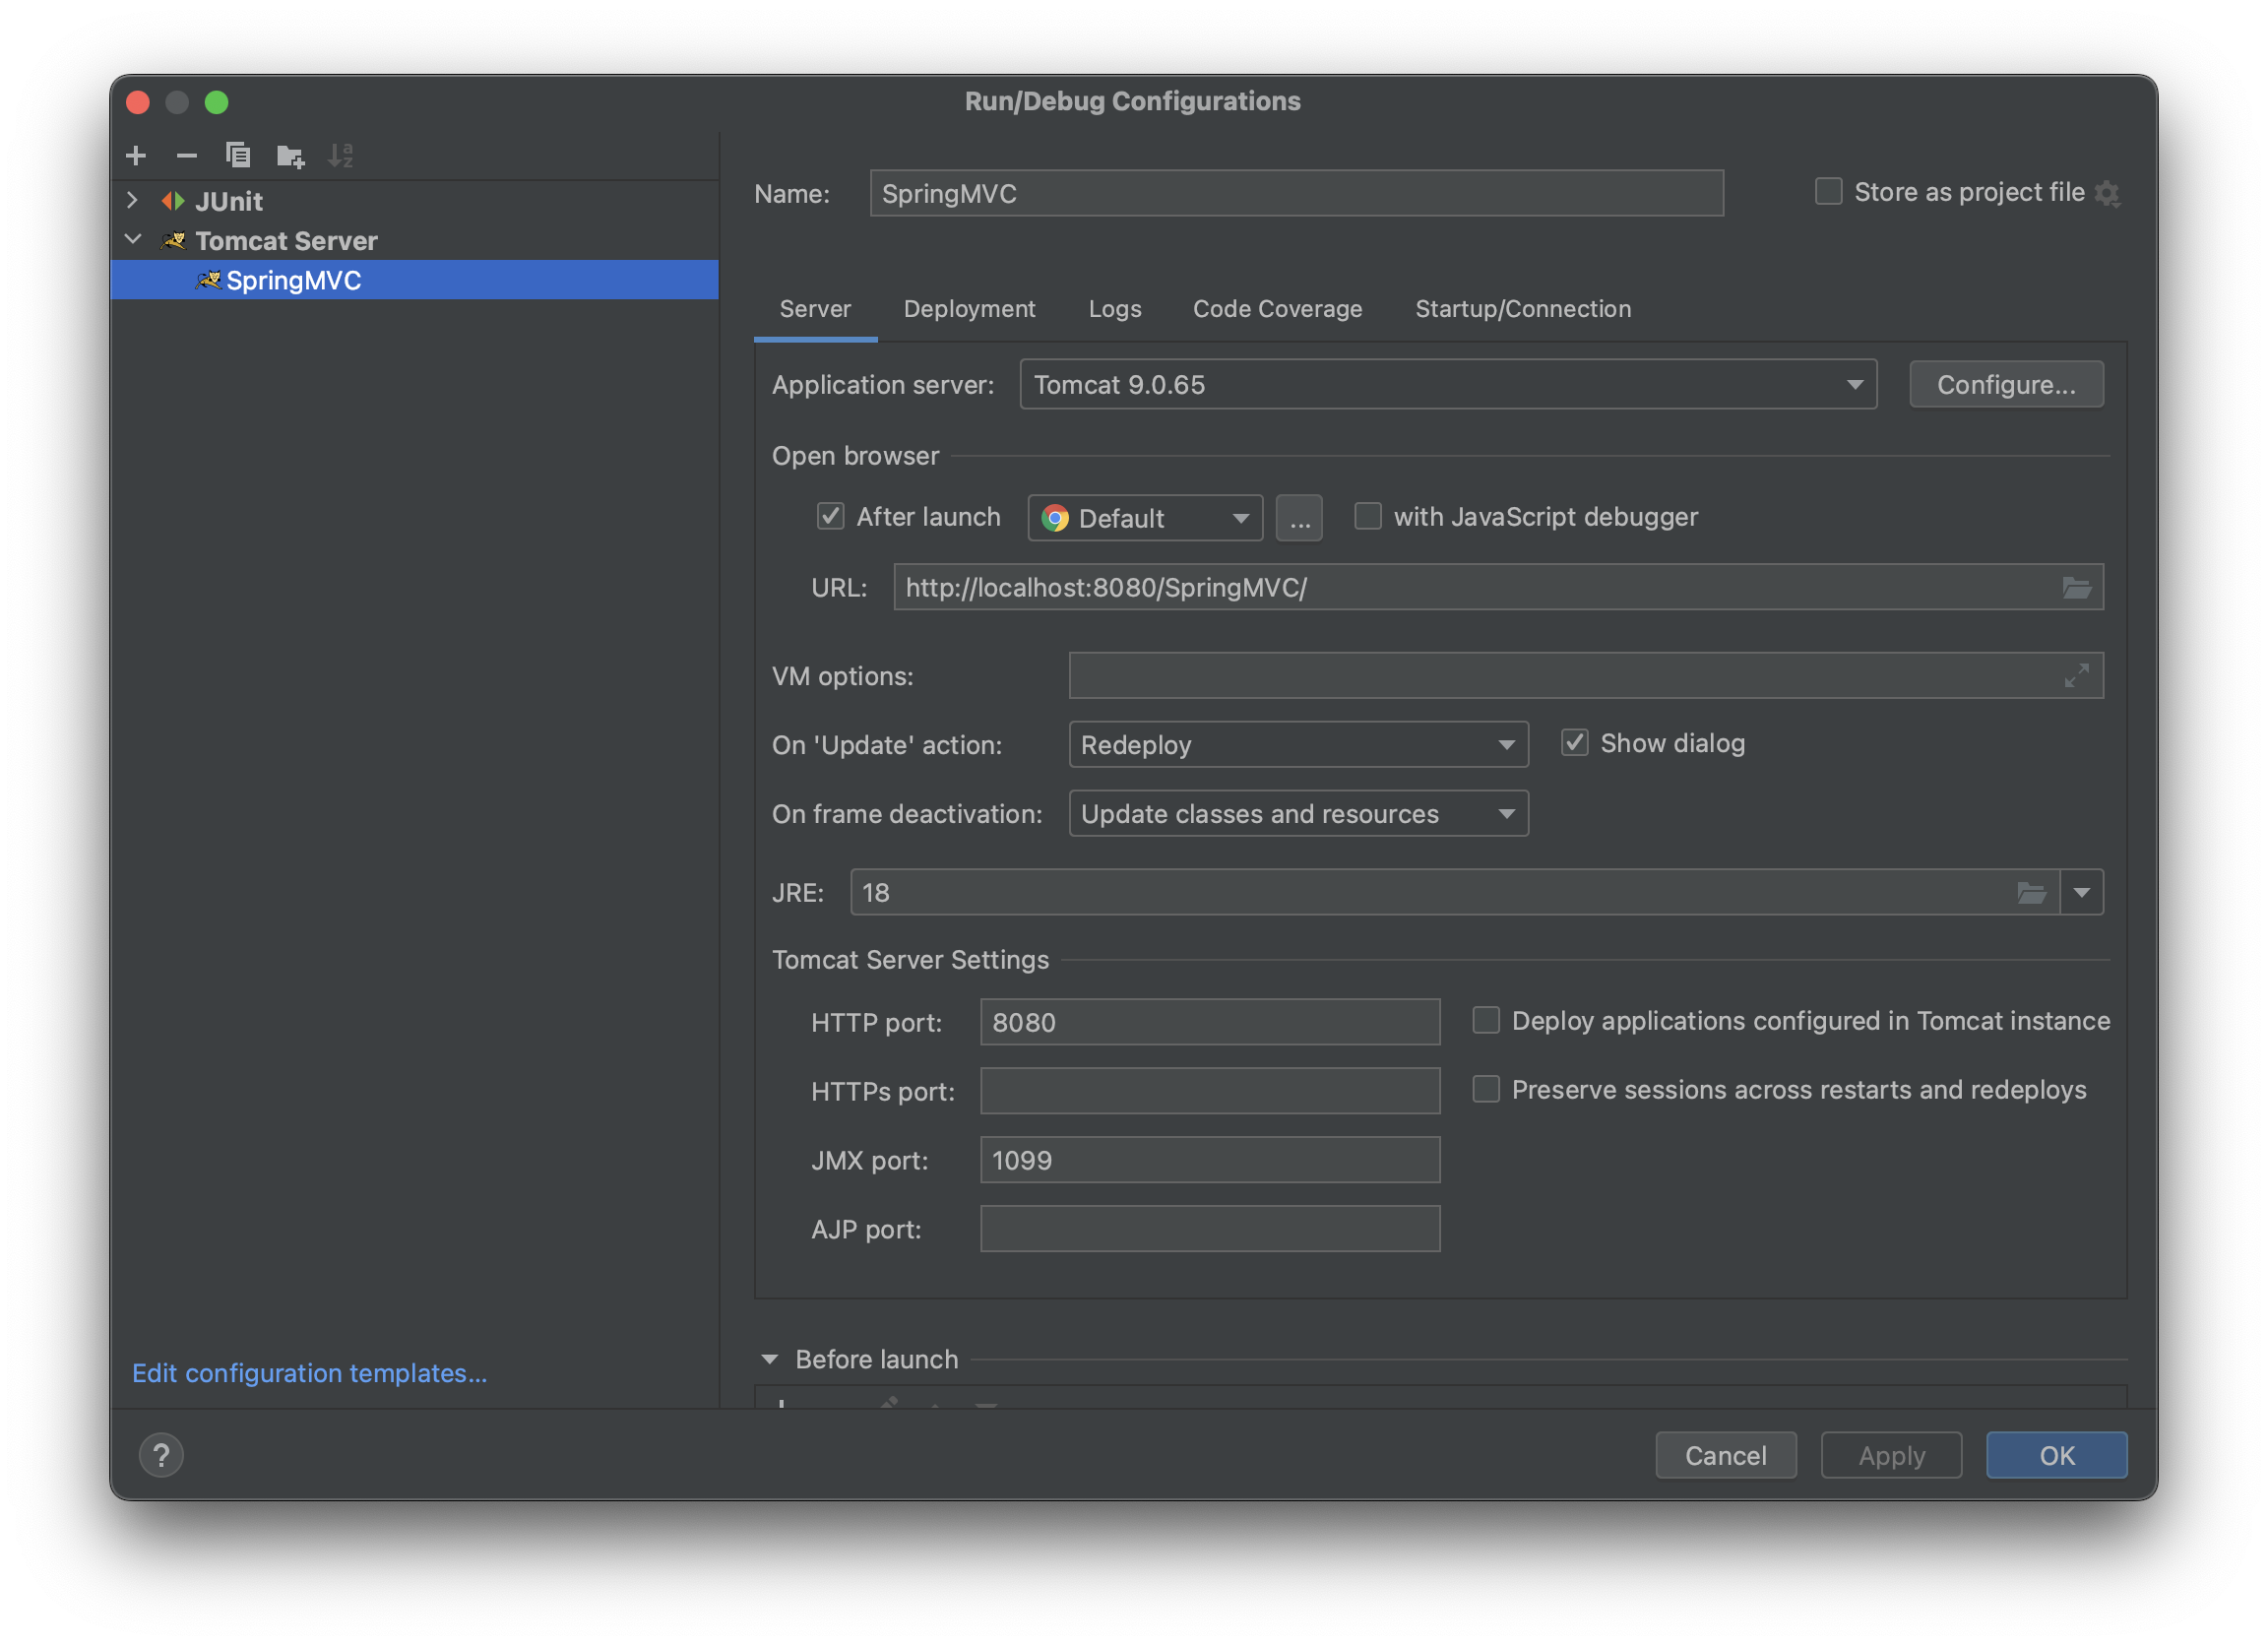

然后启动项目后即可看到效果
@RequestMapping(重要)
标识位置
类上 标记/test,方法上再标记/hello → 则请求为 .../ContextRoot/test/hello
放在类上的目的:一个Controller一个模块。
Value参数值
是个数组,表明其可以放置多个path,匹配当中任意一个均可。
@RequestMapping({"/hello", "abc"})  // / 即 ..../ContextRoot/
public String portal() {
    // 将逻辑视图返回
    return "index";
}
method 属性 (限制请求方式)
@RequestMapping(value = {"/hello", "abc"}, method = RequestMethod.POST)
  public String portal() {
      // 将逻辑视图返回
      return "index";
  }
Params 属性(了解)
对参数进行限制,可以要求必须携带某些参数,或者是某些参数必须是某个值,或者是某些参数不是某个值。
例如:我们期望让请求的资源路径为/test/testParams的GET请求,并且请求参数中具有code参数能够被testParams方法处理,则可以写如下代码。
@RestController
@RequestMapping("/test")
public class TestController {

  @RequestMapping(value = "/testParams", method = Request,GET, params = "code")
  public String testParams() {
    sout("test");
    return "ok";
  }
}
例如:我们期望让请求的资源路径为/test/testParams的GET请求,并且请求参数中不能具有code参数能够被testParams方法处理,则可以写如下代码。
@RequestMapping(value = "/testParams", method = Request,GET, params = "!code")
例如:我们期望让请求的资源路径为/test/testParams的GET请求,并且请求参数中具有code参数 ,且必须为某个值能够被testParams方法处理,则可以写如下代码。
@RequestMapping(value = "/testParams", method = Request,GET, params = "code=aaa")
headers属性 (了解)
设置请求头当中必须包含或必须不包含某个键。
@RequestMapping(value = "/testParams", method = Request,GET, headers = "!deviceType")
consumes(重点)
指定请求的content-type内容:比如如下代码指定ContentType必须为multipart/form-data(即包含文件域)的请求才能接收处理。
@RequestMapping(value = "/testConsumes", method = Request.POST, consumes = "multipart/form-data")
比如如下代码指定ContentType不能为multipart/form-data(即包含文件域)的请求才能接收处理。
@RequestMapping(value = "/testConsumes", method = Request.POST, consumes = "**!**multipart/form-data")
Ant 风格路径
即请求路径当中可以放置一些特殊字符来表示特殊含义
?表示任意的单个字符*表示任意的0个或者多个字符**表示任意层数的任意目录
@RequestMappng("/a?a/test/ant")    // aba/test/ant 或 ava/test/ant 都能匹配到,但是 ? 本身无法匹配
@RequestMappng("/a*a/test/ant")    // aaaa/test/ant 能匹配到,但是不能使用 ? 和 / 替换*
@RequestMappng("/**/test/ant")
路径中的占位符(重点)
参数也作为路径的一部分
原始方式: /user/deleteUser?id=1
Restful: /user/delete/1
@DeleteMapping("/delete/{username}/{id}")  // / 即 ..../ContextRoot/
public String delete(@PathVariable("username") String username, @PathVariable("id") Integer uid) {
    // 将逻辑视图返回
    return "index";
}
替换注解
@DeleteMapping等价于@RequestMappng(method=RequestMethod.DELETE)@PostMapping等价于@RequestMappng(method=RequestMethod.POST)@GetMapping等价于@RequestMappng(method=RequestMethod.GET)@PutMapping等价于@RequestMappng(method=RequestMethod.PUT)
获取请求参数
简单来讲
- 没有请求头用
@RequestMapping("/test1")
public String getParam1(String username, String password) {
    System.out.println(username);
    System.out.println(password);
    return "success";
}

@RequestMapping("/test2")
public String getParam2(@RequestParam(value = "user", required = true) String username,
                        @RequestParam(value = "pwd", required = true) String password) {
    System.out.println(username);
    System.out.println(password);
    return "success";
}
application/json请求头用
@GetMapping("/event/getEvent")
public Event getEventByEventId(@RequestBody Map<String, Object> params){
    Integer eventId = (Integer) params.get("id");
    Event event = eventService.getEventByID(eventId);
    return event;
}
application/x-www-form-urlencoded请求头用
@PostMapping("/test2")
public String getParam2(@RequestParam Map<String, Object> map) {
    System.out.println(map);
    return "success";
}
ServletAPI 获取(不推荐)
@RequestMapping("/paramServletAPI")
public String getParamByServletAPI(HttpServletRequest request) {
    String username = request.getParameter("username");
    String password = request.getParameter("password");
    return "success";
}
直接形参(重点)
请求参数的name和形式参数名字相同即可。
当名字不一致的时候,使用 @RequestParam,其有三个属性 required, defaultValue (当required为false的时候,且未获取到参数,则使用defaultValue 。
// http://localhost:8080/springmvc_demo/param/mvc?username=xiaoxuanzi1654&password=16540504
@RequestMapping("/mvc")
public String getParam(String username, String password) {
    return "success";
}

// http://localhost:8080/springmvc_demo/param/mvc?user=xiaoxuanzi1654&pwd=16540504
@RequestMapping("/mvc")
public String getParam(@RequestParam(value = "user", required = true) String username,
                       @RequestParam(value = "pwd", required = true) String password) {
    return "success";
}
获取请求头(重点)
使用@RequestHeader,其有三个属性required, defaultValue(当required为false的时候,且未获取到参数,则使用defaultValue )
@RequestMapping("/mvc")
public String getParam(@RequestHeader(value = "referer", required = false, defaultValue = "aaa") String referer) {
    return "success";
}
获取Cookie值(重点)
使用@CookieValue,其有三个属性 required, defaultValue (当 required 为false的时候,且未获取到参数,则使用 defaultValue)
@RequestMapping("/mvc")
public String getParam(@CookieValue(value = "JSESSIONID") String jsessionId) {
    return "success";
}
封装POJO(重点)
属性名和请求参数名字一致即可。
不管是GET或POST的x-www-urlencode均可.
@Data
public class User {
    private Integer id;
    private String username;
    private String password;
}
@RequestMapping("/pojo")
public String getParamByPojo(User user) {
    return "success";
}
封装成Map
GET/POST 均可,根据请求头的不同需要加上@RequestBody或者@RequestParam注解
@RequestMapping(value = "/queryActivityByConditionForPage")
public @ResponseBody PageInfo<Activity> queryActivityByConditionForPage(@RequestBody Map<String, Object> condition) {
    if(null == condition.get("pageNo"))
        condition.put("pageNo", 1);
    if(null == condition.get("pageSize"))
        condition.put("pageSize", 10);
    return activityService.queryActivitiesByCondition(condition);
}
编码乱码问题
Tomcat配置server.xml
大概在server.xml配置文件的71行左右。(注意这一文件不是spring项目的文件而是tomcat的配置文件,在下载tomcat的时候留心一下配置文件位置。如果是brew下载的,那么应该在/usr/local/etc/tomcat)
<Connector port="8080" URIEncoding="UTF-8" protocol="HTTP/1.1"
		connectionTimeout="20000"
		redirectPort="8443" />
web.xml配置过滤器
<filter>
    <filter-name>characterEncodingFilter</filter-name>
    <filter-class>org.springframework.web.filter.CharacterEncodingFilter</filter-class>
    <init-param>
        <param-name>encoding</param-name>
        <param-value>UTF-8</param-value>
    </init-param>
    <init-param>
        <param-name>forceEncoding</param-name>
        <param-value>true</param-value>
    </init-param>
</filter>
<filter-mapping>
    <filter-name>characterEncodingFilter</filter-name>
    <url-pattern>/*</url-pattern>
</filter-mapping>
重定向、请求转发
// 转发
return "forward:/test/model";

// 重定向
return "redirect:/test/model"
静态资源处理
目前来说,如果是nginx配置,那么基本不会用到这一部分配置项。
<mvc:default-servlet-handler />
<mvc:annotation-driven />
使用默认配置的Servlet处理静态资源。当前工程的web.xml配置的前端控制器DispatcherServlet的url-pattern是/ ,Tomcat的web.xml配置的DefaultServlet的url-pattern也是/ ,此时,浏览器发送的请求会优先被DispatcherServlet进行处理,但是DispatcherServlet无法处理静态资源,若配置了<mvc:default-servlet-handler />,则所有请求都会被DefaultServlet处理,若配置了<mvc:default-servlet-handler />和<mvc:annotation-driven />,则浏览器发送的请求会先被DispatcherServlet 处理,无法处理的在交给DefaultServlet。
返回数据
如果返回函数方法没有设置返回类型,那么会自动去找是否存在对应的html文件,如果没有则页面会报错。
@ResponseBody → JSON
将Controller 方法的返回值作为响应体返回给请求。
先按照 11.2 中配置好 jackson
@RequestMapping(value = "/responseBody")
public @ResponseBody User testResponseBody(){
    return new User(1001, "张三", "123456");
}
@RestController(重要)
相当于一个复合注解,在类上添加@RestController等价为类添加了@Controller注解,且为每个方法添加了@ResponseBody ,适用于前后端分离的开发方式。
下载
方式一
@RequestMapping("/fileDownload")
public ResponseEntity<byte[]> fileDownload(HttpSession session) throws IOException {
    //获取ServletContext对象
    ServletContext servletContext = session.getServletContext();
    //获取服务器中文件的真是路径
    String realPath = servletContext.getRealPath("fileName");
    realPath = realPath + File.separator + "fileName";
    //创建输入流
    InputStream is = new FileInputStream(realPath);
    //创建字节数组,is.available获取输入流文件对应的字节数
    byte[] bytes = new byte[is.available()];
    //将流读到字节数组中
    is.read(bytes);
    //创建HttpHeaders对象设置响应头信息
    MultiValueMap<String, String> headers = new HttpHeaders();
    //设置要下载方式和下载文件名字
    headers.add("Content-Disposition", "attachment; filename=fileName");
    //设置响应状态码
    HttpStatus statusCode = HttpStatus.OK;
    //创建ResponseEntity对象
    ResponseEntity<byte[]> responseEntity = new ResponseEntity<>(bytes, headers, statusCode);
    //关闭输入流
    is.close();
    return responseEntity;
}
方式二
@RequestMapping("/fileDownload")
public void fileDownload(HttpServletResponse response) throws IOException {

    // 1. 设置响应类型 : 应用程序返回的一个二进制文件, 万能MIME
    response.setContentType("application/octet-stream;charset=UTF-8");

    // 2. 设置响应头,使浏览器接收到相信信息,直接激活文件下载窗口,即时能打开也不打开
    response.setHeader("Content-Disposition", "attachment;filename=fileName");

    // 3. 获取输出流 : tomcat 和 浏览器 之间的通道
    ServletOutputStream outputStream = response.getOutputStream();

    // 4. 读取磁盘的文件, 边读边写
    FileInputStream fileInputStream = new FileInputStream("filePath/fileName");
    BufferedInputStream bufferedInputStream = new BufferedInputStream(fileInputStream);
    byte[] buffer = new byte[1024];
    int len = -1;
    while((len = bufferedInputStream.read(buffer)) != -1) {
        outputStream.write(buffer, 0, len);
    }

    // 5. 关闭资源 : outputStream 交给 tomcat 关闭即可
    bufferedInputStream.close();
    fileInputStream.close();
    outputStream.flush();
}
上传
依赖增加
<!-- 文件上传 -->
<dependency>
    <groupId>commons-fileupload</groupId>
    <artifactId>commons-fileupload</artifactId>
    <version>1.3.1</version>
</dependency>
Spring配置文件修改
<!--
	文件上传解析器 :
  此类负责将文件类型的数据形成 MultipartFile 参数,其底层依赖 commins-fileupload
-->
<bean id="multipartResolver" class="org.springframework.web.multipart.commons.CommonsMultipartResolver">
    <property name="defaultEncoding" value="UTF-8"></property>

    <!-- 设置文件的上传限制大小 -->
		<!-- <property name="maxUploadSize" value=""></property>-->
</bean>
接受上传代码
@RequestMapping(value = "/test-upload", method = RequestMethod.POST)
public String upload(MultipartFile photo, HttpSession session) throws IOException {
    // 获取上传的文件名
    String fileName = photo.getOriginalFilename();
		// 获取文件的后缀
		String fileHz = fileName.substring(fileName.lastIndexOf('.'));
		// 获取UUID
		String uuid = UUID.randomUUID().toString();
		// 拼接一个新的文件名
		fileName = uuid + fileHz;
		// 获取保存的路径
    String filePath = session.getServletContext().getRealPath("static");
    // 目录不存在则创建
    File file = new File(filePath);
    if(!file.exists()) {
        file.mkdir();
    }
    // 保存文件
    String finalPath = saveDir + File.separator + fileName;
    photo.transferTo(new File(finalPath));
    // 跳转到成功页面
    return "success";
}